I had a great plan for today! I was going to wake up really early, go to the gym and work out for an hour before the rain started, and then come home to study for the rest of the day. So, I woke up at 8:00, was ready to go by 8:30, got to the gym at 8:45, and saw gates around the front desk. The gym opens at 10 today, and now it was raining. Frustrated, I walked home in the rain and needed my own form of exercise. Today sounded like the perfect opportunity to make some bread, specifically, my favorite sweet yeasty dinner rolls. Since bread baking is super specific with the amounts and ratios of ingredients, I didn’t stray too far from the copycat recipe I found from http://kitchenjoyblog.com/roadhouse-yeast-rolls/ , but I did all of the work by hand rather than use a stand mixer.
Stress level: 4/10
Yield 20 rolls
Time: 3 hours
Ingredients:
Directions:
Stress level: 4/10
Yield 20 rolls
Time: 3 hours
Ingredients:
- 1 package active dry yeast
- ¼ cup warm water
- 1 cup warm milk
- 3 tbsp melted butter
- ¼ cup sugar
- 4 cups flour, divided, plus more to sprinkle surface
- 1 egg, beaten
- 1 tsp salt
- More melted butter to brush on top of the rolls
Directions:
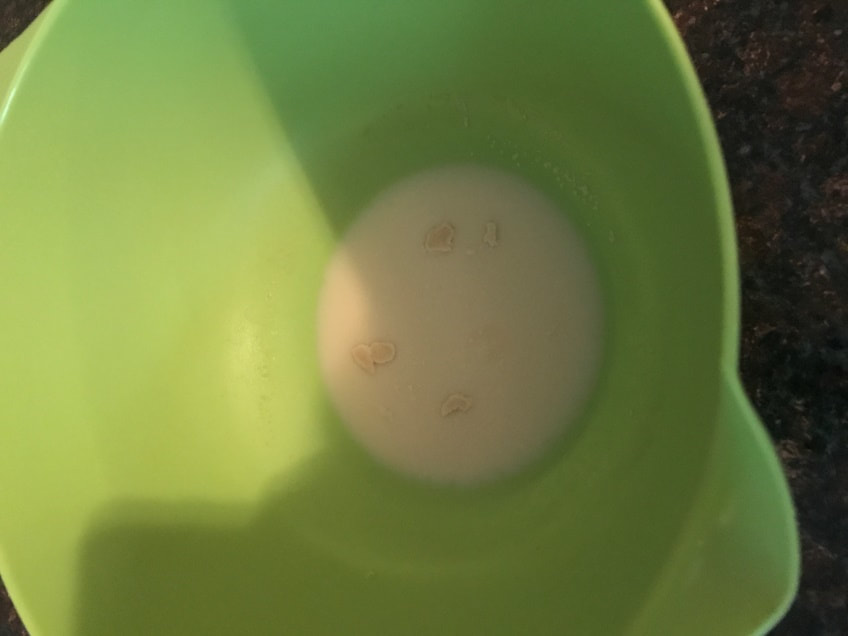
- Combine warm water and yeast in the bottom of a large bowl, sprinkle with a little bit of sugar to kickstart the yeast. Let sit for 10 minutes or until yeast starts to foam at the top
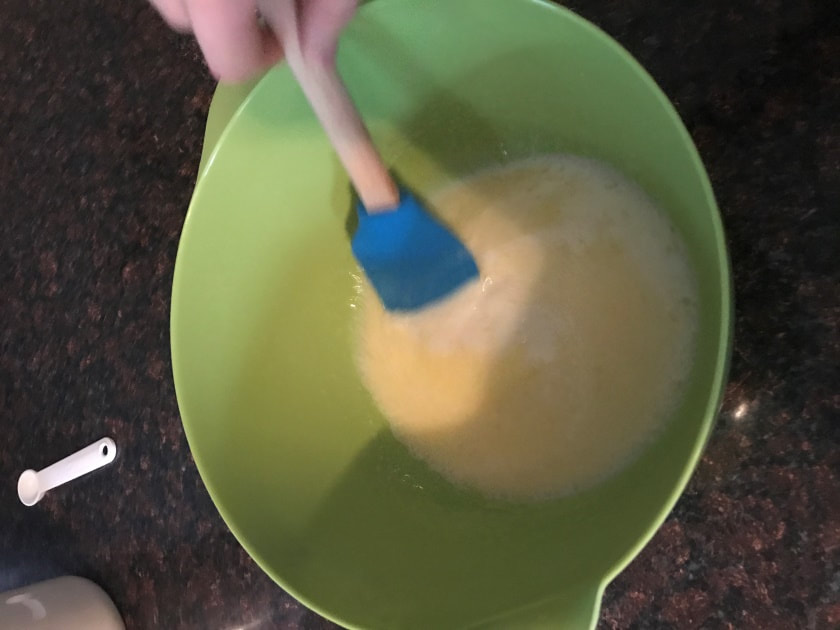
- Add the warm milk, melted butter, and sugar and mix until combined
- Add about 1.5 cups of flour and combine
- Mix in the egg and salt well
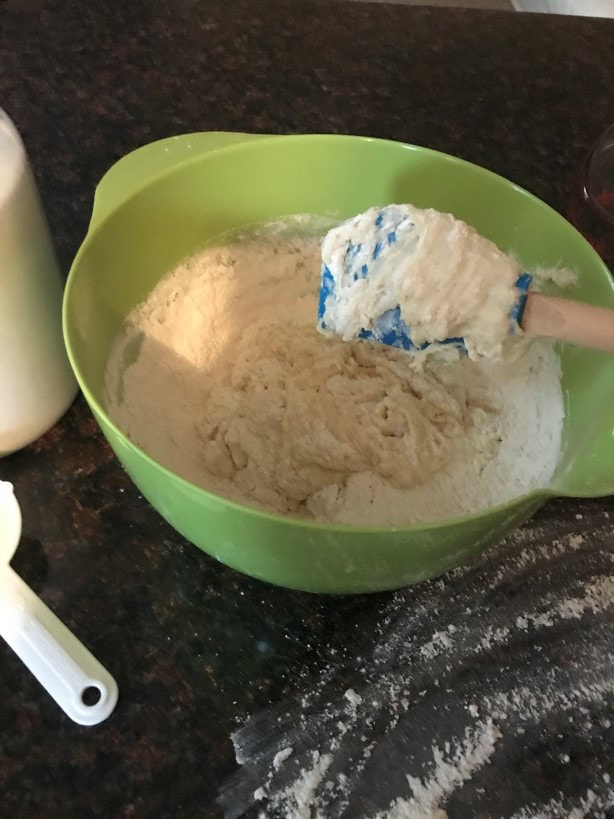
- Gradually add the remaining 2.5 cups of flour, working it all in until thoroughly incorporated
- Turn out onto floured surface to knead
- Knead for about 5-10 minutes until the dough is smooth and no longer super sticky. The ultimate test for this is to take a small piece of the dough and stretch it while holding it up to a light. If you can see the light through it but the dough doesn’t break, it has formed enough gluten (window pane test).
- Spray a large bowl with cooking spray and cover with a clean kitchen towel. Let rise for 1 hour in a warm place. Since my apartment is freezing, I use my oven for this. I preheat the oven to 170 degrees and then turn the oven off for 10 minutes. The oven will be warm enough to keep the yeast happy but not too hot to prevent the rise
- Turn dough out onto floured surface (should have doubled in size) and knead for another 2 minutes. Cover with kitchen towel and let rest for 10 minutes
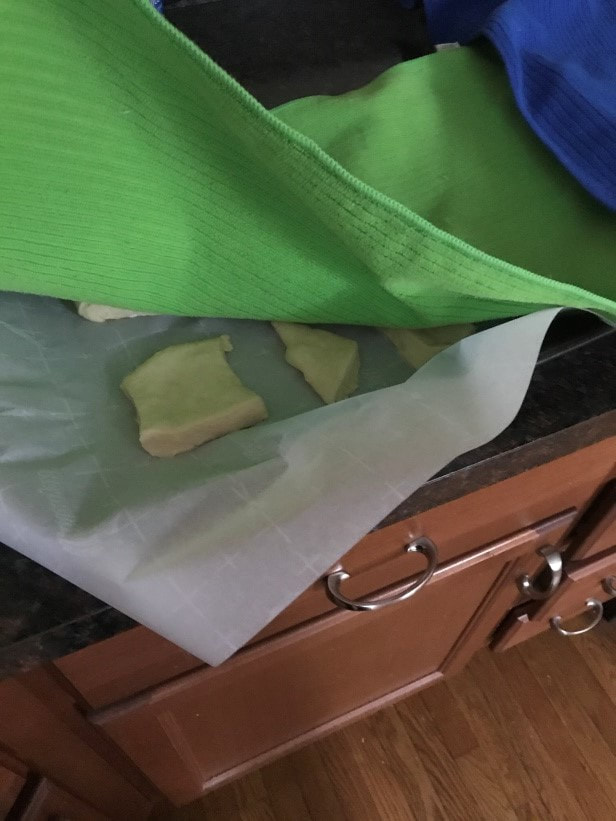
- Roll out dough into a rectangle ½ inch thick. Cut dough into about 16-20 rectangles (about 2X3ish inches) and place them onto parchment paper-lined baking sheets.
- Cover with kitchen towels and let rise another hour, out of the oven
- In the last ten minutes of the rise, preheat the oven to 350 degrees
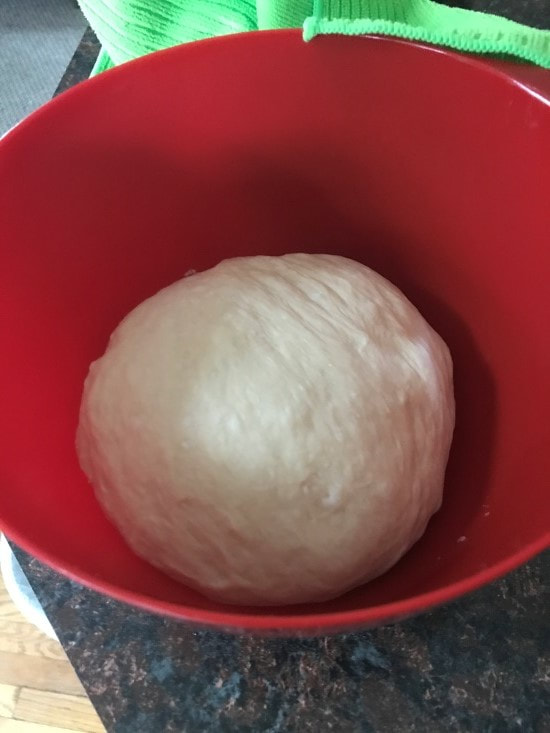

Before, I was feeling pretty frustrated with myself over not checking when the gym opened in the morning and a little stressed over the fact that I’m almost halfway through February and need to move on my projects and studying. I needed to feel a sense of accomplishment today, so bread was the perfect way to go. I get a lot of pleasure out of the entire bread-making process. At first, the dough is super sticky and just won’t form any kind of a shape. The more you work the dough and get the gluten to develop, the more it actually begins to take shape. By the end of kneading it, you can see a definite change in consistency from where it started to where it ended.
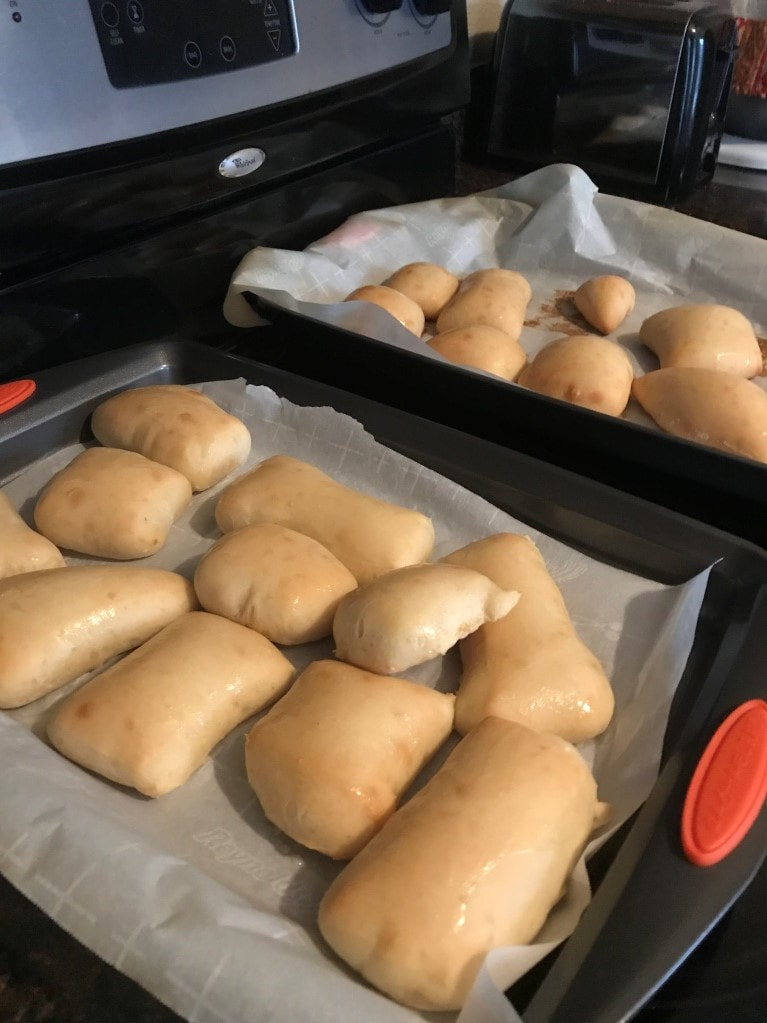
Plus, I was definitely the child who played with play-doh all the time. I am a very hands-on person who will stick my hands in any kind of dough if I am allowed, which is why I did not touch the stand mixer for this recipe. It is way more satisfying to roll and punch the dough with my own two hands than to flip a switch to have it all done for me. I feel more proud of making it this way too. I had to figure out how long to activate the yeast for and how long to knead by hand when I only had estimates for a stand mixer. It takes some knowledge and trusting that you are doing the right thing with the dough. It was really relieving when the rolls came out perfectly risen and golden-brown, just as I had intended them to be. New stress level: 1/10.
Plus, I was definitely the child who played with play-doh all the time. I am a very hands-on person who will stick my hands in any kind of dough if I am allowed, which is why I did not touch the stand mixer for this recipe. It is way more satisfying to roll and punch the dough with my own two hands than to flip a switch to have it all done for me. I feel more proud of making it this way too. I had to figure out how long to activate the yeast for and how long to knead by hand when I only had estimates for a stand mixer. It takes some knowledge and trusting that you are doing the right thing with the dough. It was really relieving when the rolls came out perfectly risen and golden-brown, just as I had intended them to be. New stress level: 1/10.
